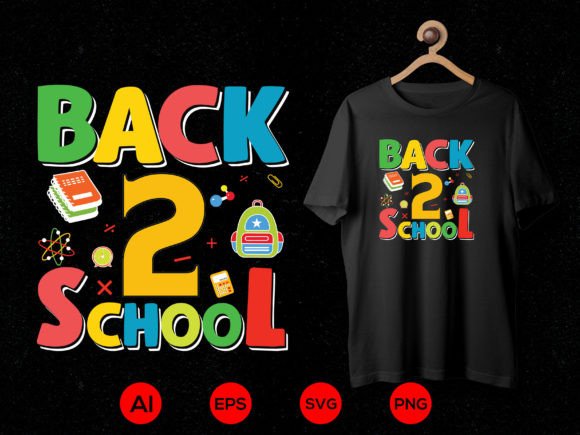
Back to School SVG Design, Kickin It In
Whether you're crafting custom t-shirts for a preschool open house, designing classroom door decorations, or launching a seasonal merch line for your small business, Back to School SVG Design, Kickin It In delivers playful, confident energy—perfect for learners of all ages. This isn’t just another clipart pack: it’s a thoughtfully built design resource with layered versatility, including EPS, SVG, PNG, and DXF files—all bundled in one ZIP. But before you drop it into your Cricut project or upload it to Canva, there are real-world details that make the difference between polished results and frustrating setbacks.
What “Kickin It In” Actually Means—and Why File Types Matter More Than You Think
The phrase “Kickin It In” signals more than attitude—it reflects intentional design choices: bold outlines, friendly proportions, balanced negative space, and scalable clarity. That energy only translates if your tools can handle the files properly. Many users assume “SVG” means universal compatibility—but it doesn’t. For example, some free design apps render SVGs without preserving layers or transparency, turning a clean “Kickin It In” script into a blurry, uneditable blob. Others import DXF files but ignore stroke-based paths, causing cut lines to vanish on vinyl cutters.
This is where the included file types become practical leverage—not just marketing extras. EPS works reliably in Adobe Illustrator for print-ready layouts. SVG supports web use and most cutting machines (Cricut Design Space, Silhouette Studio). PNG gives you instant drag-and-drop options for social posts or PowerPoint slides—with transparent backgrounds already applied. DXF ensures precise vector cuts on industrial plotters or laser engravers. Skipping a file type check before starting a project often leads to wasted time re-tracing or re-exporting.
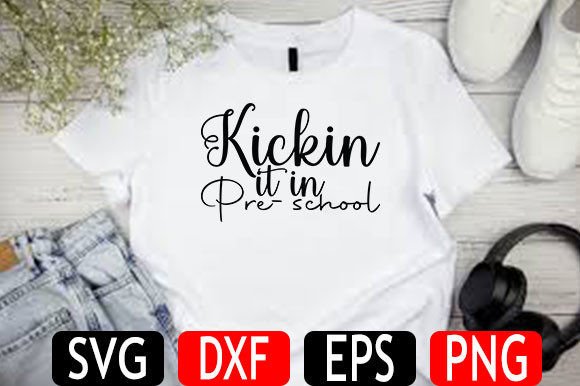
Mistake #1: Assuming “Pre-School” Means Simplified Design
Some creators assume “Back to School SVG Design, Kickin It In pre-school” implies chunky letters or cartoon animals. Not quite. The pre-school version uses age-appropriate readability—larger counters, open letterforms, and consistent stroke weight—but keeps the same confident voice and stylistic integrity as the K–5 version. Using the standard “Kickin It In” file for toddler signage may result in letters too tight or tall for young eyes to track. Instead, verify which variant matches your audience’s developmental needs. Check the folder labels inside the ZIP: they’re named clearly (“pre-school,” “elementary,” “teacher-edition”)—not buried in filenames or descriptions.
Mistake #2: Overlooking Color Mode and Layer Structure
Even experienced designers sometimes skip checking how colors are built. This pack uses RGB for digital use and CMYK-ready swatches for professional printing—but only if you open the EPS or SVG in compatible software. Importing into Canva or PicMonkey? Stick with the PNGs for guaranteed color fidelity. Also, notice how layers are grouped: “shadow,” “outline,” “fill,” and “text” are separated intentionally. Merging them before resizing can distort spacing or eliminate subtle depth cues. A better move: scale the entire group, not individual layers—especially when adapting for iron-on transfers or chalkboard decals.
Mistake #3: Downloading Without Verifying Scale and Units
SVG files don’t carry inherent physical dimensions—they rely on your software’s default units. One user reported cutting “Kickin It In” at 8 inches wide on their Cricut, only to find it came out at 3.2 inches because their machine interpreted the SVG’s internal scale as pixels-per-inch instead of inches. The fix? Always open the SVG in a vector editor first (even free ones like Inkscape), check the document properties, and rescale *before* sending to your cutter. Better yet: use the included PNGs as visual references to confirm proportions match your intended application—like fitting a 12" x 18" bulletin board or a 6" pocket chart label.
Before You Use or Share: Five Quick Checks
- Confirm your software supports the file format you’re using. Cricut Design Space handles SVG well—but not EPS. Silhouette Studio imports DXF flawlessly, but struggles with certain SVG path commands unless simplified first.
- Look inside the ZIP before extracting everything. Folders are organized by use case (e.g., “t-shirt-layouts,” “door-decor,” “name-tags”), not just file type. Grab what you need—no need to clutter your desktop with unused variants.
- Test print or cut at 25% scale first. Especially for intricate elements like sneakers or backpack icons embedded in the “Kickin It In” motif—fine details hold up best above 4 inches.
- Check licensing terms—not just for commercial use, but for platform-specific rules. Selling mugs with this design? Fine. Uploading the SVG to a marketplace where others can resell it? Not permitted. The license is clear, fair, and creator-friendly—read it once, apply it consistently.
- Compare contrast and legibility at real-world viewing distances. That bold “Kickin It In” looks sharp on screen—but will it read from across a gymnasium? Try converting to black-and-white PNG and squinting at it. If letters blur together, bump up tracking or choose the outlined version over the filled one.
A Smarter Way to Start Your Back-to-School Projects
“Back to School SVG Design, Kickin It In” shines brightest when treated as a toolkit—not just decoration. Its strength lies in flexibility: swap fonts in the editable vector layers, recolor using global swatches, or combine the pre-school “Kickin It In” script with the elementary backpack icon to create hybrid visuals for mixed-age programs. Educators have used the PNGs directly in Google Slides for morning meeting banners; small-business owners layered the SVGs with foil-pressed textures for boutique tote bags; freelancers embedded the EPS files into client brand guidelines for consistent seasonal campaigns.
What ties these successes together isn’t just the design—it’s intentionality in selection and execution. You don’t need every file. You do need to know which one solves *your* problem right now. So pause before auto-importing. Open the ZIP. Scan the folder names. Pick the format that aligns with your tool, timeline, and output goal. That small habit saves hours—and makes “Kickin It In” feel less like a download and more like a reliable collaborator.